

Injection molding is a widely used manufacturing process for producing plastic products. It is known for its high precision, efficiency, and ability to produce complex shapes in large quantities. Here is a step-by-step guide on how injection molding products are made, complete with illustrations.
The first step in the injection molding process is product design. Engineers and designers use Computer-Aided Design (CAD) tools to create 3D models of the product. The design must not only be aesthetically pleasing but also functional, strong, and durable. Once the product design is complete, the mold design begins. Mold designers use the 3D model to create a precise mold structure and use Computer-Aided Engineering (CAE) tools to simulate the injection molding process to ensure that the molten plastic fills the mold evenly without defects like bubbles or flash. The mold is typically made from high-strength steel or aluminum and is manufactured using CNC machining and electrical discharge machining (EDM).
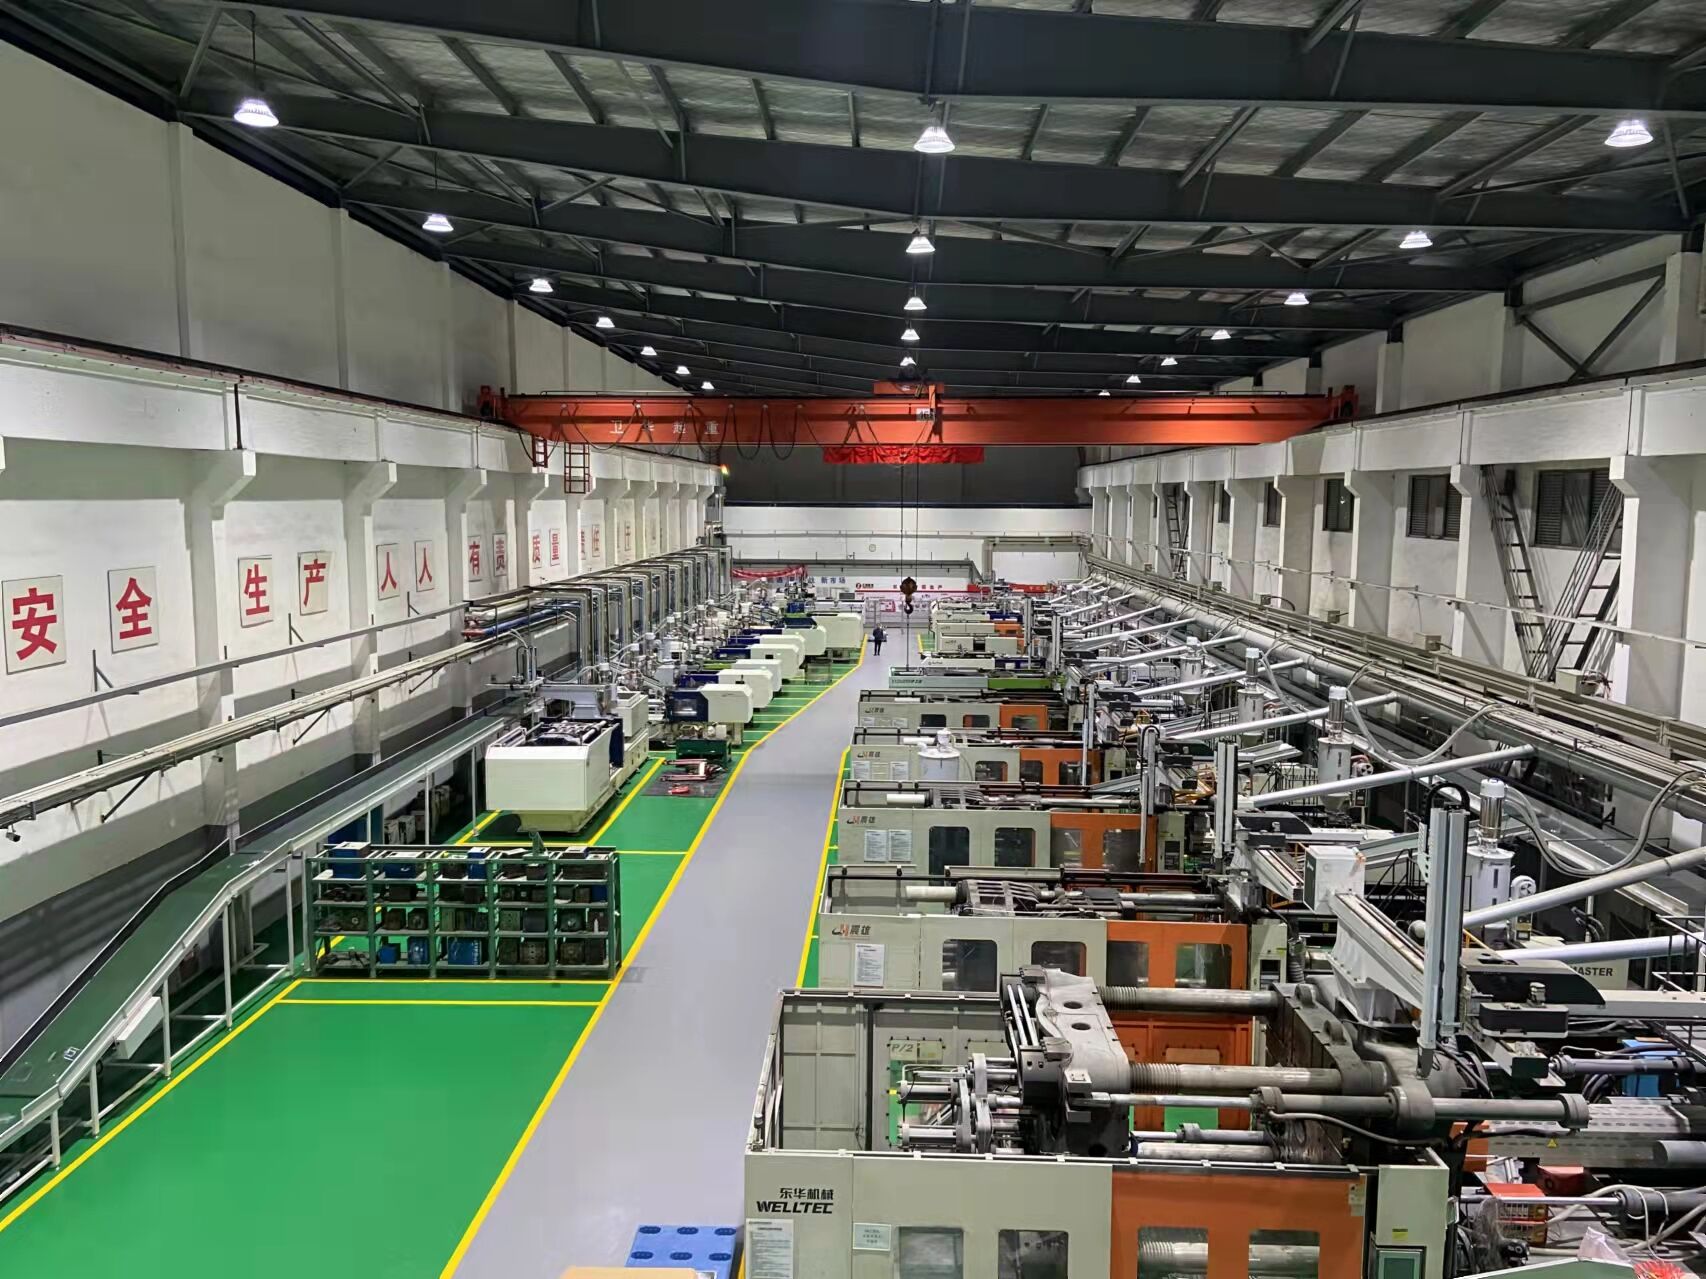
After the mold is ready, the next step is to select the appropriate raw materials. Common materials include polypropylene (PP), polyethylene (PE), and polycarbonate (PC). Depending on the product's performance requirements, additives such as toughening agents, color masterbatches, and UV stabilizers may be added. The plastic granules are fed into the injection molding machine's hopper through an automated feeding system and are heated to a molten state. The heating process is controlled by multiple temperature zones to ensure uniform heating and appropriate mobility. The temperature settings vary depending on the plastic material's melting point, typically ranging from 180°C to 350°C.
Once the plastic is molten, the injection molding step begins. The molten plastic is pushed through the injection molding machine's screw and injected into the mold cavity at high pressure and speed. The key parameters in this process include injection pressure, injection speed, and mold temperature control. The mold temperature is usually kept low (approximately 20°C to 100°C) to help the plastic cool and solidify quickly after injection. The entire injection molding process must be completed within a few seconds to several tens of seconds. If the injection speed is too slow, the material may not fill the mold evenly; if it is too fast, it may cause warping or flash.

After the injection molding is complete, the plastic melt in the mold cavity begins to cool rapidly. The cooling time directly affects the product's dimensional stability and surface quality. The mold typically has cooling channels through which cooling water or oil circulates to remove heat and ensure rapid cooling and stable formation. The cooling time depends on the product's thickness, material type, and mold design. Thicker products require longer cooling times, while thin-walled products cool more quickly. Insufficient cooling time can lead to internal residual heat, causing warping or dimensional instability, while excessive cooling time reduces production efficiency. Therefore, controlling the cooling time is crucial for improving production efficiency and product quality.
Once the plastic product has cooled and solidified, it is time to remove it from the mold. This process is called demolding. To ensure smooth demolding, the mold design usually includes a draft angle on the product's vertical surfaces to reduce friction. If the design is not appropriate, demolding may cause surface damage or deformation. After demolding, the product may require some post-processing operations, such as trimming, grinding, and polishing, to remove excess material or surface defects. For precision products, additional surface treatments like painting, plating, or laser engraving may be necessary to enhance the product's appearance and functionality.
The final step in the injection molding process is quality control. The products undergo a series of rigorous tests, including dimensional inspection, strength testing, and durability testing, to ensure they meet design requirements and industry standards. For mass-produced injection molding products, manufacturers often use automated inspection equipment, such as coordinate measuring machines (CMM) and optical inspection devices, for high-precision testing. For products with special requirements, such as automotive parts or medical devices, quality inspection may also include material composition analysis, high-temperature resistance testing, and aging resistance testing to ensure the product's stability and safety in complex environments.
After passing all quality inspections, the injection molding products are packaged according to customer requirements. The packaging method takes into account the product's characteristics, transportation distance, and customer demands. The products are then shipped to the customer's designated location, completing the entire production process.
Injection molding is a complex process, and each step is crucial for ensuring the final product's quality. By following the process flow diagram, manufacturers can optimize production efficiency and ensure that the products meet market demands. Understanding these processes not only helps in designing more efficient production plans but also lays a solid foundation for improving product quality.


